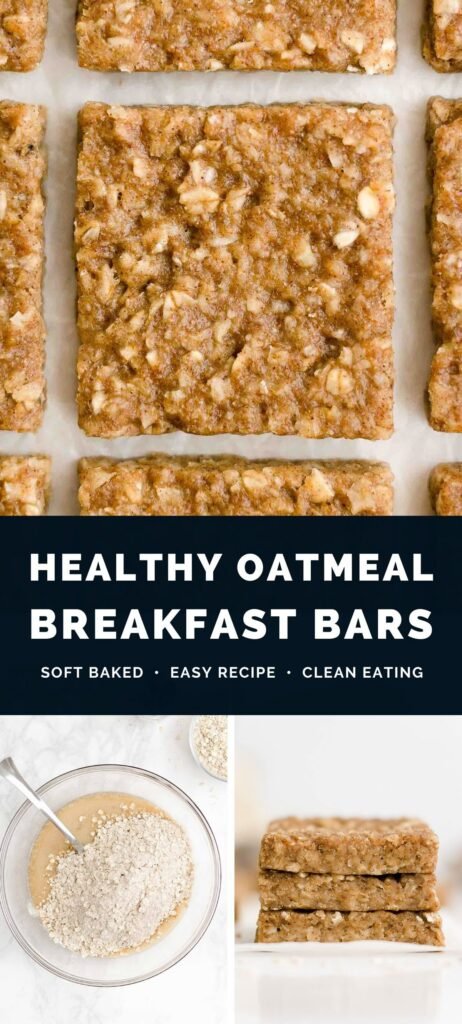
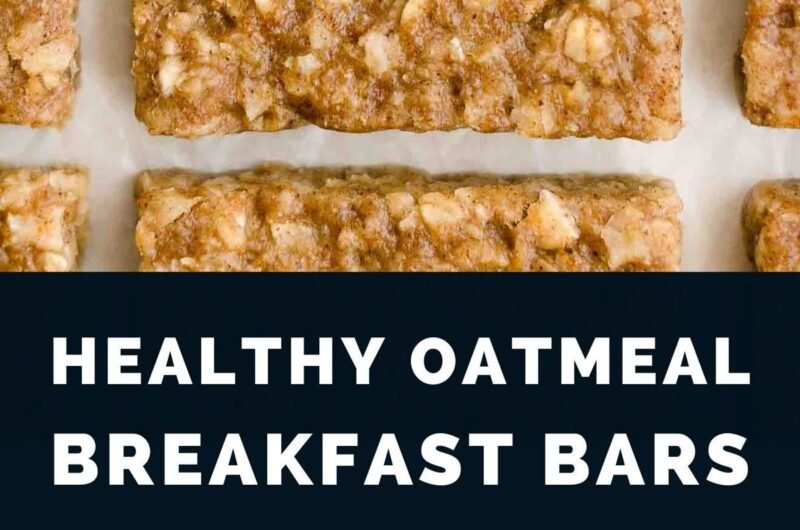
Why do mornings always feel like a rush when you still want something homemade? These Healthy Breakfast Bars are made for exactly those days when you need real food without slowing down your routine. Soft, slightly chewy, and naturally sweet, they’re the kind of grab-and-go bite that actually keeps you full.
Ever wondered if you could make something quick on Sunday and enjoy it all week? That’s exactly what happens here. I usually mix everything in one bowl, press it into a pan, and let the oven do the rest. The result is simple, comforting, and easy to reach for during busy mornings.
Why You Will Love This Recipe
What makes these bars so easy to keep coming back to? It’s the way they fit into real life without asking for much effort. They’re soft enough for kids, filling enough for adults, and simple enough to make even when you’re tired.
These Healthy Breakfast Bars also feel like a small win on busy days. You can make them ahead, store them easily, and grab one whenever hunger hits. They’re cozy without being heavy and sweet without being overwhelming.
The best part is how flexible they are. You can adjust them based on what you already have in your kitchen. They work well for meal prep, quick snacks, or even a light breakfast with coffee or tea.
If you like simple, make-ahead food that doesn’t feel boring, this recipe fits right in.
Ingredients
A good tip here is to use soft rolled oats—they hold everything together without making the bars too dry.
- 2 cups rolled oats
- 1 cup mashed ripe bananas (about 2 medium bananas)
- 1/2 cup natural peanut butter
- 1/3 cup honey or maple syrup
- 1/2 cup milk (dairy or plant-based)
- 1 tsp vanilla extract
- 1/2 tsp cinnamon
- 1/4 tsp salt
- 1/3 cup chopped nuts or seeds (optional)
- 1/3 cup raisins or dried cranberries (optional)
For 2 people, simply halve all ingredients and use a smaller baking dish. For more than 4 people, double the ingredients and use a larger pan so the thickness stays even.
Instructions
Step 1: Preparation (40 words)
Ever feel like breakfast prep takes too long in the morning? Start by preheating your oven to 180°C and lining a baking dish with parchment paper. Mash the bananas until smooth and measure out all ingredients so everything is ready to mix quickly.
Step 2: Main Cooking Process (40 words)
Want a batter that comes together without fuss? In a large bowl, mix mashed bananas, peanut butter, honey, milk, vanilla, cinnamon, and salt. Stir until smooth and creamy. The mixture should look thick but still easy to stir without clumps or dryness.
Step 3: Combining Ingredients (40 words)
Not sure when to add the oats? Fold them into the wet mixture along with nuts or dried fruit if using. Stir gently until everything is evenly coated. If making a smaller batch, mix carefully so the texture stays balanced and not too dense.
Step 4: Finishing & Final Simmer (40 words)
Wondering how long to bake without drying them out? Press the mixture into your prepared pan and bake for about 25–30 minutes. The top should feel set and lightly golden. Let it cool fully before slicing so the bars hold their shape.
Why This Recipe Works for Busy Days (60–80 words)
Looking for something you can prep once and enjoy all week? These bars are perfect for that. You can bake them ahead, store them in portions, and grab one on your way out the door. They also hold up well in lunchboxes and don’t need reheating. Whether you’re cooking for two or a full family, they scale easily and stay consistent in texture and flavor.
Tips & Tricks
- Want softer bars that don’t crumble when sliced? Make sure your bananas are fully ripe and mashed smoothly. Dry bananas can change the texture, especially in smaller batches, so adjust moisture slightly with a splash of milk if needed.
- Wondering why your bars turned too dense? Overmixing after adding oats can tighten the texture. Stir just until combined. If doubling the recipe for more servings, mix in stages to keep everything evenly blended without overworking the mixture.
- Not sure how to keep them from sticking? Always line your pan with parchment paper. This small step makes removing and cutting easier. For smaller portions, use a smaller dish so the bars bake evenly without burning around the edges.
- Want a more filling version for busy mornings? Add extra nuts or seeds for texture. If reducing the recipe for two people, keep add-ins light so the balance stays soft and not too heavy in smaller squares.
Variations
- Want a protein-packed version? Add a scoop of protein powder and a handful of chopped almonds. This makes the bars more filling for post-workout snacks or busy mornings. If scaling for more servings, increase liquid slightly so the texture doesn’t become too dry.
- Looking for a vegan option? Use maple syrup instead of honey and plant-based milk. The bars still hold together beautifully. This version works well for meal prep since you can easily double or halve the batch depending on how many people you’re serving.
- Want a different flavor base? Swap peanut butter for almond butter or cashew butter. Each one gives a slightly different richness. If making a smaller batch, choose one nut butter so the flavor stays consistent and balanced in every bite.
- Want a warm flavor twist? Add nutmeg or a pinch of cardamom along with cinnamon. It creates a cozy aroma that feels perfect for colder mornings. This variation scales easily, so you can make a bigger batch for weekly meal prep.
Serving Suggestions
- Need a quick breakfast plate idea? Serve one or two bars with fresh fruit and yogurt. It turns a simple snack into a balanced morning meal. For larger families, cut bars into smaller pieces so everyone can grab what they need easily.
- Want a school lunchbox-friendly option? Wrap individual bars and pair them with apple slices or grapes. They stay soft and easy to eat. If preparing for more kids, double the batch so you always have extras ready.
- Looking for a cozy afternoon snack? Warm a bar slightly and enjoy it with tea or coffee. The soft texture becomes even better when lightly warmed. You can easily adjust portions depending on whether you’re serving one person or a group.
- Want a light dessert-style serving? Add a drizzle of nut butter or a spoon of yogurt on top. It feels indulgent but still simple. For gatherings, slice into smaller squares so everyone can enjoy a bite-sized treat.
Storage Instructions
- Fridge storage: Want them to stay fresh all week? Store cooled bars in an airtight container in the fridge for up to 5 days. Separate layers with parchment paper to prevent sticking. This works well whether you make a small or full batch.
- Reheating: Prefer them warm and soft? Heat a bar in the microwave for 10–15 seconds. It brings back a fresh-baked feel. If reheating larger batches, do it in small portions so the texture doesn’t dry out.
- Freezing: Need longer storage? Wrap individual bars and freeze for up to 2 months. Thaw at room temperature when needed. This works especially well if you double the recipe and want ready-to-go snacks.
- Make-ahead tips: Want stress-free mornings? Bake a full batch and portion it into containers right away. This makes grabbing breakfast simple. You can also adjust portion sizes easily depending on how many people you’re prepping for.
Recipe Timing
Prep Time: 10 minutes
Cook Time: 25–30 minutes
Rest Time: 15 minutes (cooling)
Total Time: 50–55 minutes
Nutrition Information (Approximate)
Each bar contains about 160–220 calories depending on add-ins and portion size. Protein ranges from 4–7g per serving. They also provide dietary fiber, healthy fats, and natural carbohydrates for steady energy. Values are estimates and may vary based on ingredient choices and serving size.
FAQs
Can I make these ahead of time?
Yes, they store very well and can be made 2–3 days in advance or frozen for longer storage.
Why are my bars too soft?
They may need a bit more baking time or extra oats. Let them cool fully before cutting.
Can I replace peanut butter?
Yes, almond or cashew butter works just as well and slightly changes the flavor.
Why are they too dry?
You may have added too many oats. A splash of milk helps bring back softness.
How long do they last in the fridge?
They stay fresh for about 5 days when stored properly in an airtight container.
Can I make them sweeter?
Yes, add a little extra honey or maple syrup depending on your taste preference.
Conclusion
These Healthy Breakfast Bars are one of those simple recipes that quietly make your week easier. They don’t ask for much time, yet they give you something warm and filling whenever you need it. The best part is how flexible they are—you can adjust them based on what’s in your kitchen or who you’re cooking for.
Once you make them, they often become part of your routine because they just work. Keep them in the fridge, freeze a few for later, and enjoy them however your day looks. Healthy Breakfast Bars fit into real life in the easiest way.
Healthy Breakfast Bars
4
servings10
minutes30
minutes220
kcaloft, chewy, and lightly sweet breakfast bars made with oats, banana, and peanut butter. Perfect for quick mornings, snacks, or meal prep for the week.
Ingredients
2 cups rolled oats (halve for 2 people, double for 8)
1 cup mashed ripe bananas
1/2 cup peanut butter
1/3 cup honey or maple syrup
1/2 cup milk
1 tsp vanilla extract
1/2 tsp cinnamon
1/4 tsp salt
1/3 cup nuts or seeds (optional)
1/3 cup dried fruit (optional)
Directions
- Preheat oven to 180°C and line a baking dish with parchment paper.
- Mash bananas and mix with peanut butter, honey, milk, vanilla, cinnamon, and salt until smooth.
- Stir in oats and optional add-ins until fully combined
- Press mixture into pan and bake 25–30 minutes until set.
- Press mixture into pan and bake 25–30 minutes until set.
- Cool completely before slicing into bars.